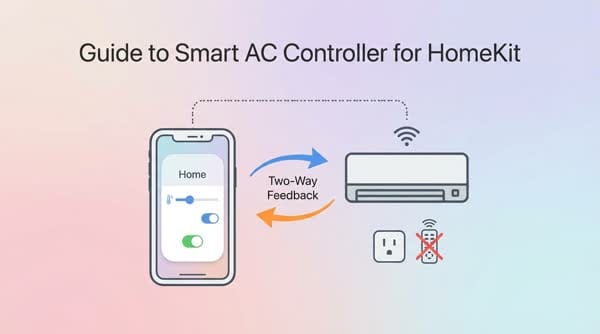
Guide to Making a Smart Air Conditioner Controller for Apple HomeKit with Two-Way Feedback
The most common need today is to turn the air conditioner on and off from your phone.
The most common need today is to turn the air conditioner on and off from your phone. There are many control options via Broadlink Mini or switching on and off using a smart breaker. However, these options have drawbacks: you cannot use the traditional remote to turn it on and off, which in some cases is inconvenient. So the approach here is to have an intermediate device that can both be controlled via WiFi and receive infrared signals.
STEPS TO NOTE
- Plug the USB Flash into the board with the correct wiring (GND-GND, 5V-5V, RXD-TX, TXD-RX). Insert the jumper pin into IO0-GND on the innermost pins.
- Run the flash tools and select the correct chip type ESP8285.
- Tick the firmware line and enter 0 into the red box.
- Select the correct 40Mhz and the correct COM port.
- After flashing is done, unplug the USB from the computer, remove the IO0-GND jumper, then plug the USB Flash back into the computer to temporarily supply power.
- Use a laptop or iDevice to connect to the WiFi broadcast by the ESP board named ESP_CONFIG_(MAC address of the chip).
- Use an IP scanning tool to find the IP of the ESP board in your home WiFi network, then access that IP using Chrome.
- In section 2 GPIO, select: IR send = GPIO4, IR Receive = GPIO14.
- Go to the More section, press reboot to restart the ESP board, then go back to the GPIO section to check that the configuration has been saved.
- Go to the IR section, click on Decode Protocol, click OK, point the remote at the black sensor of the ESP and press ON/OFF to identify the air conditioner. If the air conditioner is supported, it will automatically appear (mine automatically switched to TOSHIBA). If it cannot be identified, then select it manually according to the instructions below in the UPDATE section.
- On the row with the "IR Feedback" button, press OFF and then press ON again to activate the two-way feedback feature when using the remote.
Add to Apple Home
Open the Home app, tap Add Accessory, then go to Other Options. Add the ESP-XXXXXX board to any room you like.
- Enter the CODE: 1111-1111 to complete.
- Tap "Display as Separate Tiles" to split it into 2 accessories, making it easier to control the fan speed.
Solder wires to a 5V power module or use an old 1A charger or a power bank. Install the ESP board where its infrared sensor can see the air conditioner, ideally within 4m. Or mount it directly inside the air conditioner, which is even better.
Link to download tools and firmware: https://drive.google.com/file/d/1r47DjV0_6ePzaVbOYtlUIehU5Gv7vfyM/view?usp=drive_link
Purchase links for components:
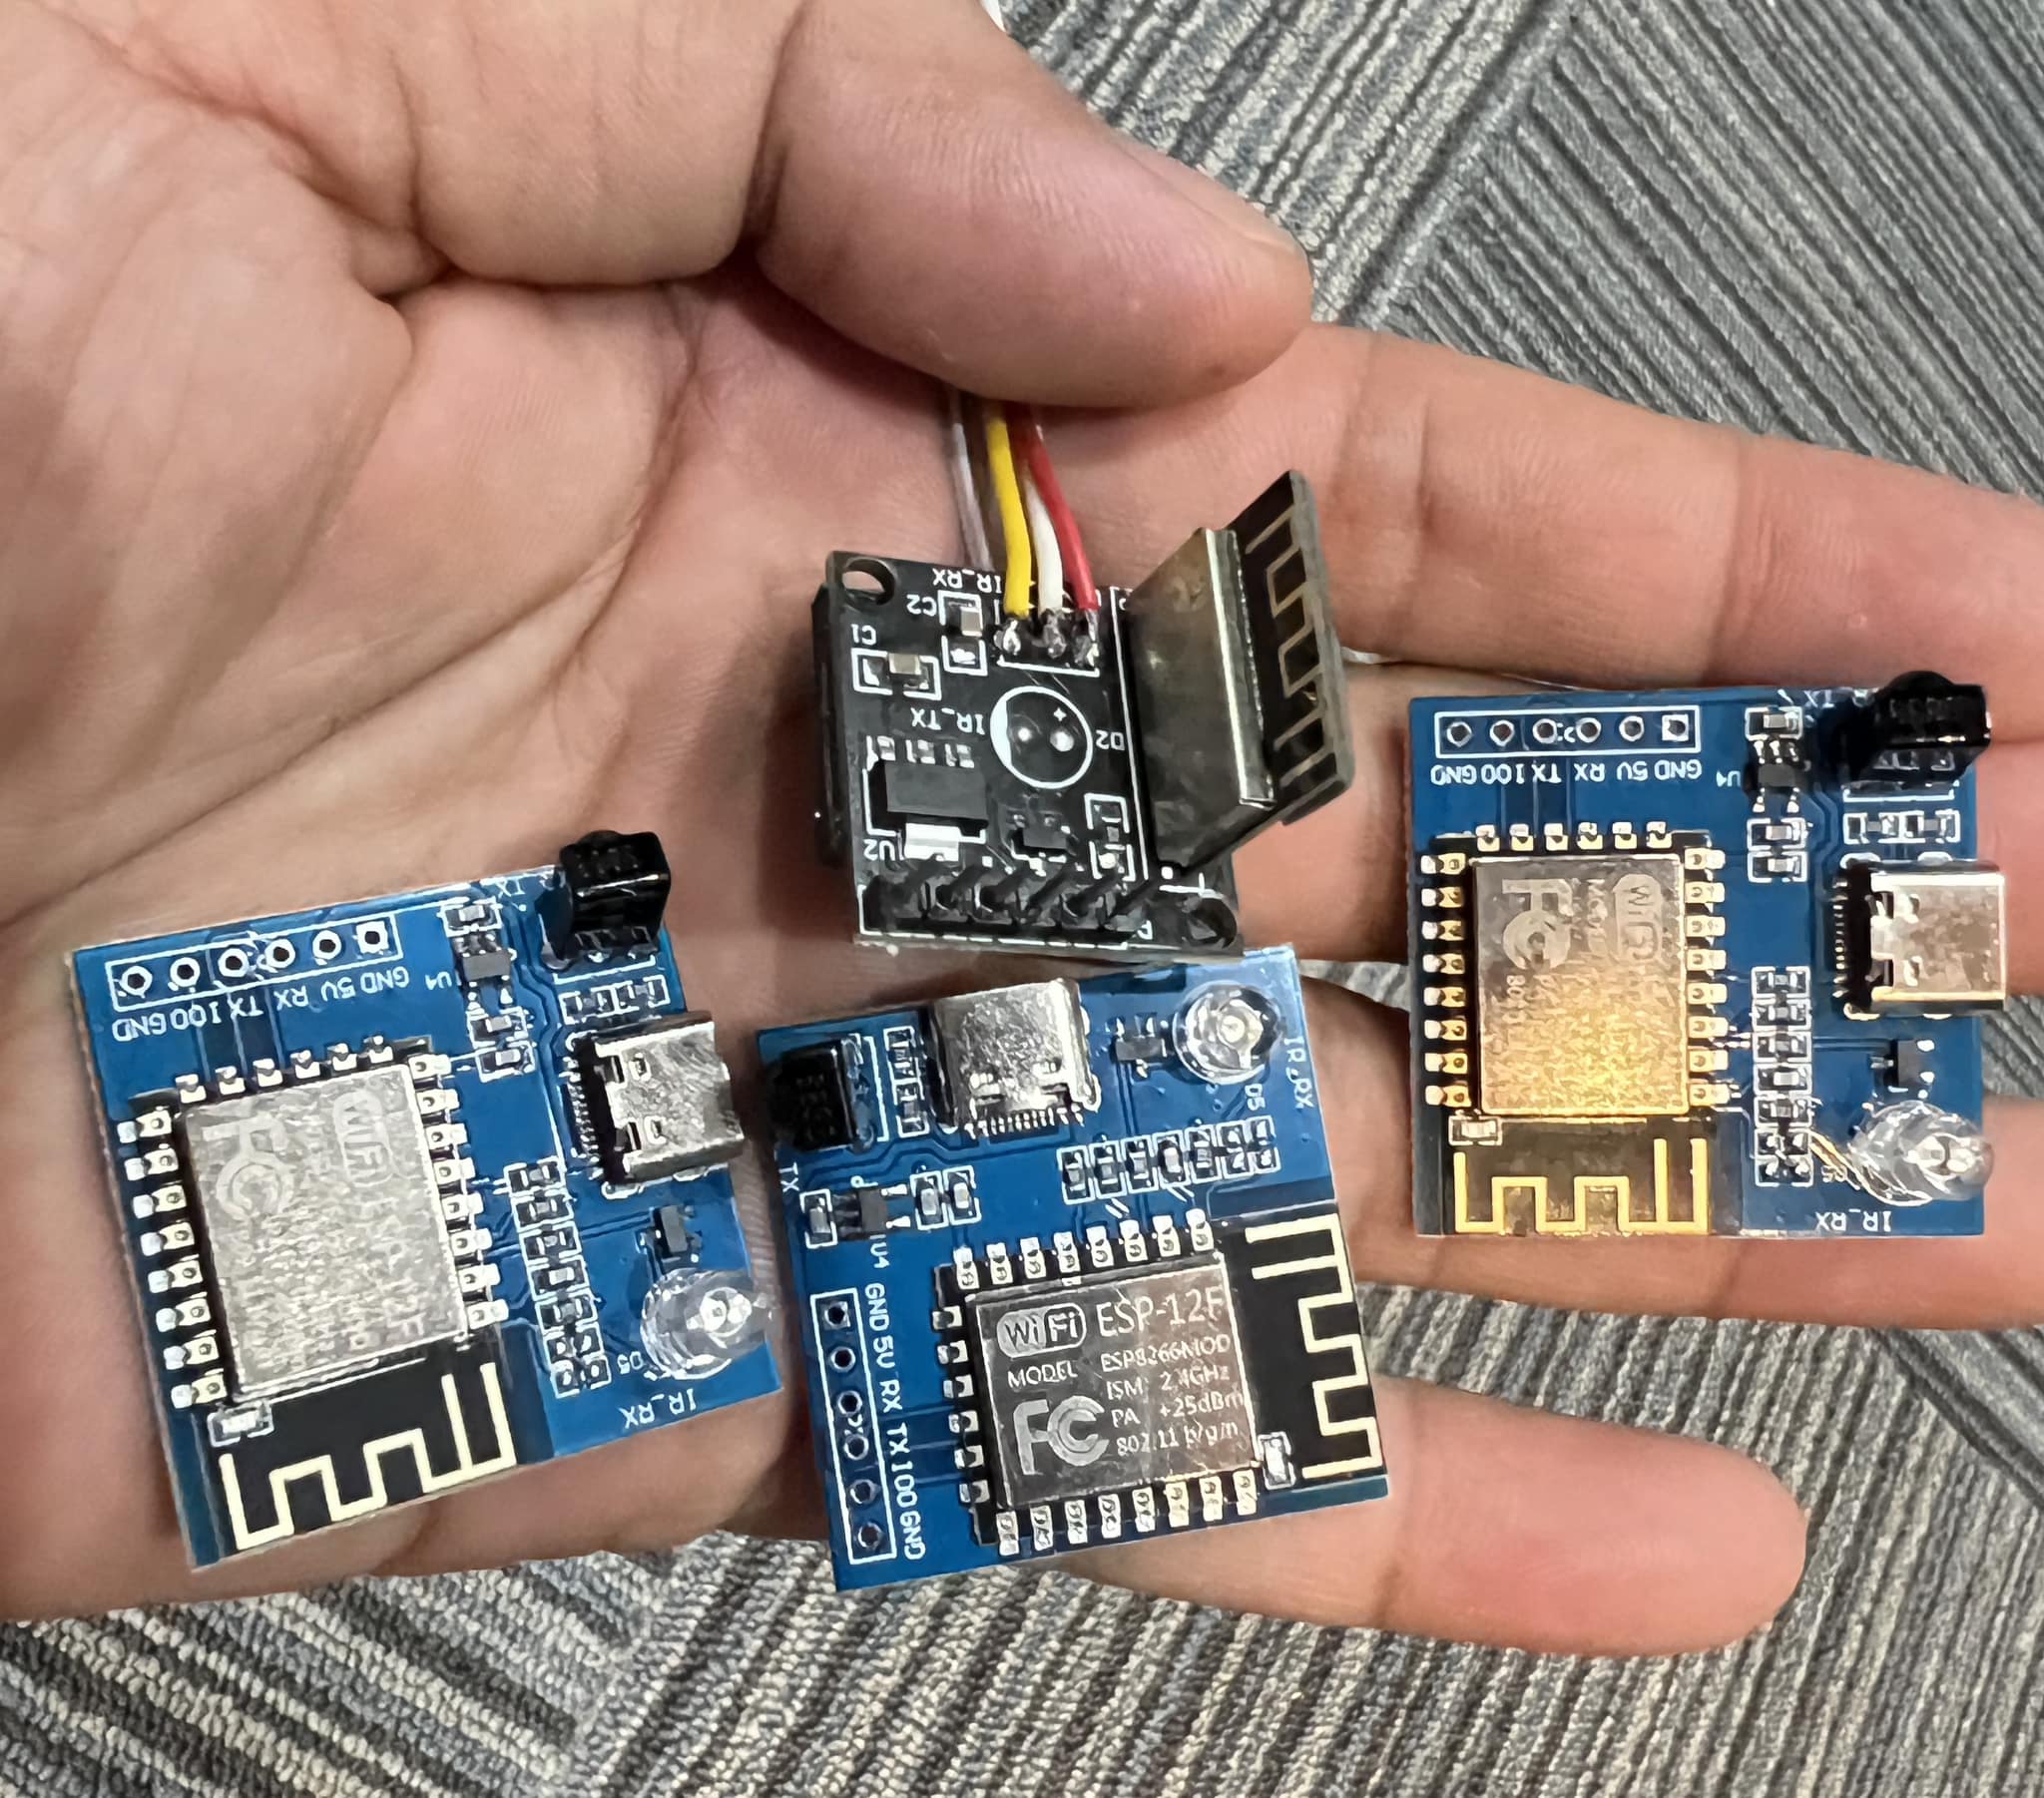
- ESP IR board:
https://s.shopee.vn/4ptyK9WBUC - High-quality 5V power supply, model HKL-5m05 (if you reuse an old charger then no need to buy):
https://s.shopee.vn/8pQ75WlYag - USB flash, model CP2102 Red:
https://s.shopee.vn/8f6gtF7iXA