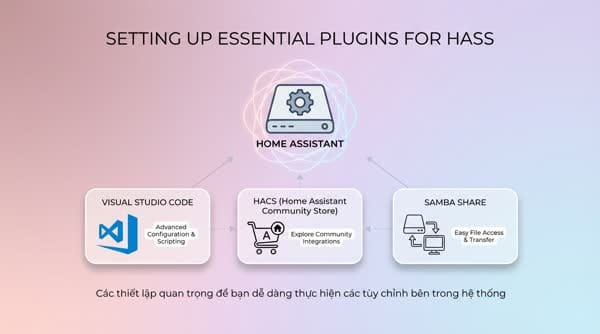
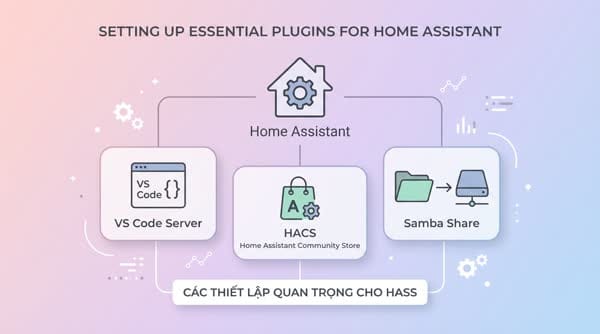
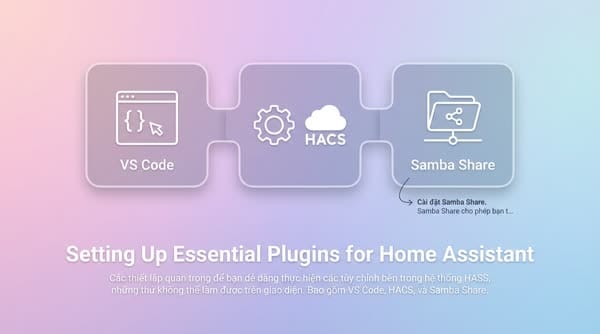
Setting Up the Programming Environment for Home Assistant
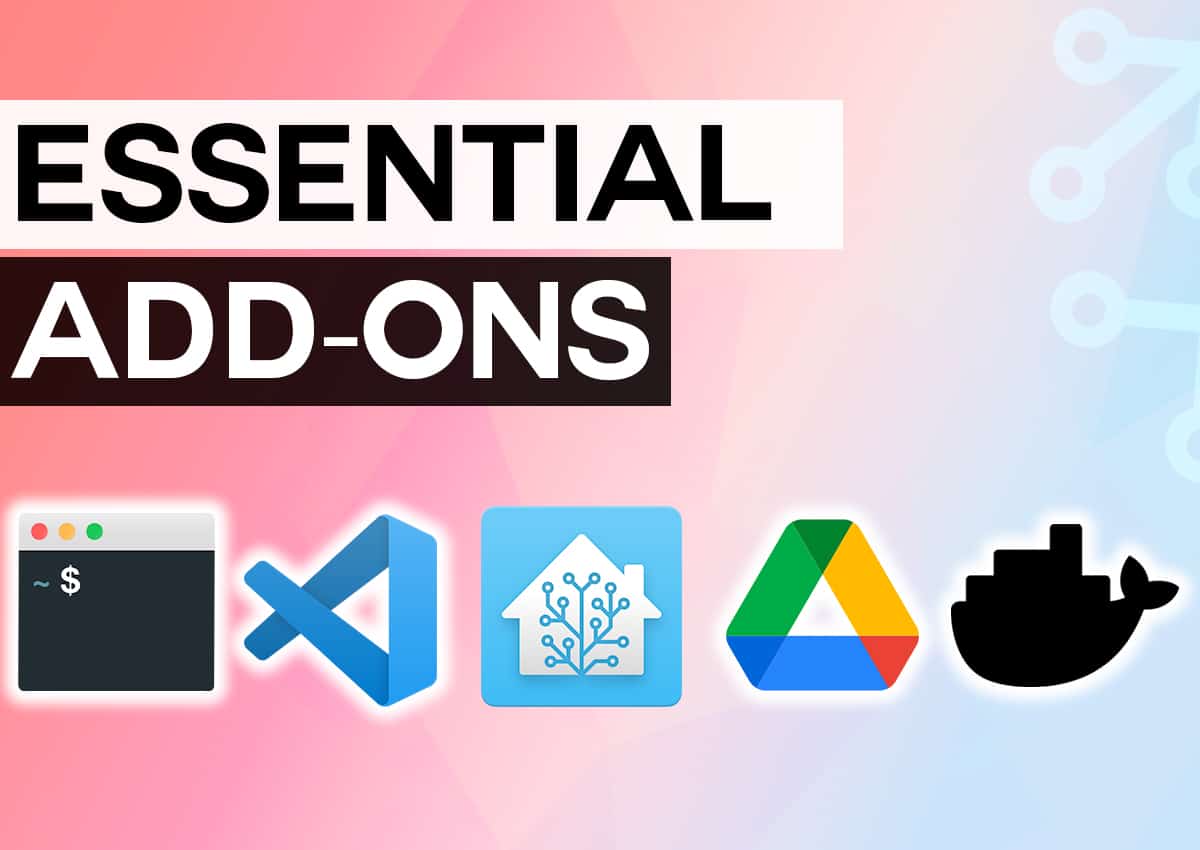
To make it more convenient to follow the instructions on my blog, you need to set up a system of plugins from the beginning. These are essential utilities if you want to deeply intervene in HASS features.
Install Visual Studio Code
Visual Studio Code (VS Code) is a powerful source-code editor that helps you easily edit configuration files in Home Assistant. You will often need to adjust the configuration.yaml file, and this tool makes that easy.
Installation steps
- In the Home Assistant interface, go to Settings > Add-ons > Add-on store
- Search for "Visual Studio Code" or "Studio Code Server" and click on the result
- Click the INSTALL button to install the add-on
- After installation is complete, you can enable options such as:
- Start on boot
- Watchdog (Automatically restarts if an error occurs)
- Auto update
- Show in sidebar
- Click the START button to start the add-on
- Check the logs to ensure everything is working correctly
- Click OPEN WEB UI to open VS Code in the browser
Accessing VS Code
You can access VS Code via a web browser by:
- Using the URL: http://[device_IP_address]:8443
- Or via the sidebar in the Home Assistant interface if you have enabled the "Show in sidebar" option
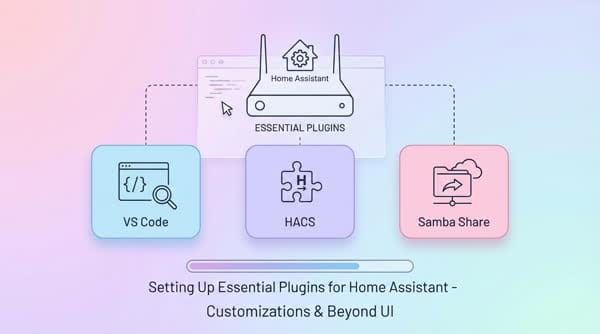
Install HACS (Home Assistant Community Store)
HACS is a community-built "app store" that allows you to install integrations, themes, and custom cards that are not available in official Home Assistant.
Installation steps
Automatic installation
Go to Settings > Add-ons > Add-on Store > Manage add-on repositories. Add this repo: https://github.com/hacs/addons

Next, refresh and type Get HACS. Click to install as usual. After that, you can continue from step 5 of the manual installation. There is no need to type the commands. If you encounter errors, you can follow the manual steps below.
Manual installation
Open the Visual Code interface in Home Assistant that you installed in the previous step and run the HACS installation command:
wget -O - https://get.hacs.xyz | bash -
Restart Home Assistant:
- In the container interface, select Action > Restart
- Or in the Home Assistant interface, go to Settings > System > Restart
Integrating HACS into the interface
- After restarting, go to Settings > Devices & Services > Add Integration and search for HACS
- Follow the instructions to authenticate with GitHub:
- Copy the device code and open the provided GitHub link
- Log in to GitHub (if you are not already logged in)
- Enter the copied device code and select Continue
- Select Authorize HACS
- Return to Home Assistant and complete the setup process
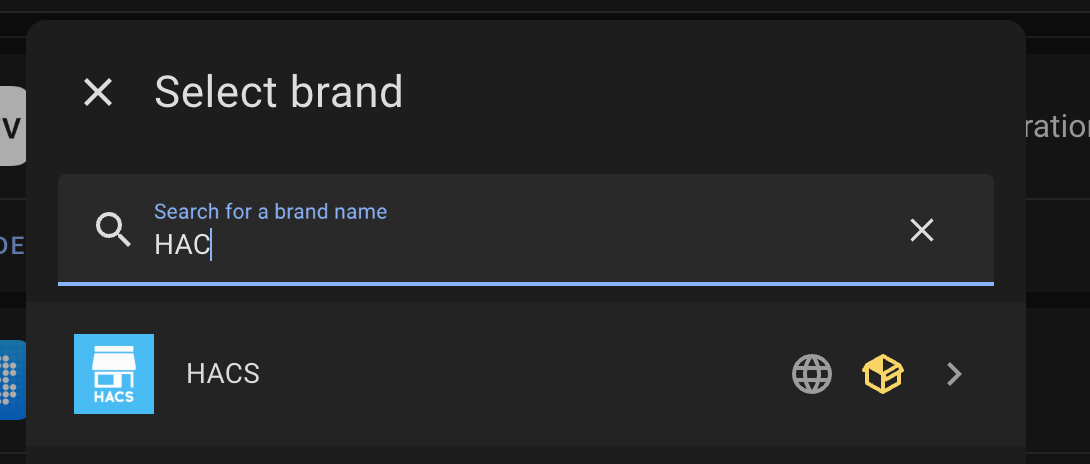
After successful installation, you will see HACS appear in the Home Assistant menu.
Install Samba Share
Samba Share allows you to access Home Assistant folders from other computers on the LAN as a network drive.
Installation steps
- In the Home Assistant interface, go to Settings > Add-ons > Add-on store
- Search for "Samba share" and click on the result
- Click the INSTALL button to install the add-on
- Configure Samba Share:
- Set the username and password (this is the login information for accessing the network drive and is not related to your Home Assistant account)
- Configure allowed_hosts depending on your home network IP range. For example: if Home Assistant has the IP address 192.168.0.130, you can set allowed_hosts to 192.168.0.0/16
- Review the shared folders and disable those you do not need
- Save the configuration and start the add-on
Accessing Samba Share from Windows
- Open This PC from the Start menu
- Right-click on Network in the left panel and select Map network drive
- In the Folder field, enter the IP address of Home Assistant with the syntax
\\IP_address - Select Browse and choose the folder you want to connect to
- Enter the username and password you configured in the Samba Share add-on
- Select Remember my credentials if you want to save the login information
Accessing Samba Share from macOS
- Open the Finder app
- Click the Go menu > Connect To Server
- Enter the Home Assistant address with the syntax
smb://IP_address - Click Connect and choose the drive you want to connect to
- Enter the username and password you configured in the Samba Share add-on[6][10]
Samba Share allows you to access important folders such as config, share, media, backup, and other folders in Home Assistant.
Conclusion
With these three tools, you have a basic but powerful Home Assistant environment to manage, customize, and expand your smart home system. Visual Studio Code helps you edit configurations professionally, HACS extends Home Assistant’s capabilities with community integrations, and Samba Share lets you easily manage files from other devices on the network.
🔗 Related Notes
- [[Build your own AI Camera to improve your home security, eliminate latency and false alerts]] - Same topics: SmartHome, Technology, Personal | Same tags: SmartHome, IOT
- [[../../4-Archive/notes/Smarthome/Configure BPI - HomeLAB]] - Same topics: SmartHome, Design, Technology, Personal
- [[CTO lesson 9 - Finance & Fundraising]] - Same topics: Design, Personal, Technology, Books
- [[Automatically turn charging on/off for JK BMS storage battery via Home Assistant]] - Same topics: SmartHome, Design, Technology, Personal | Same tags: IOT
- [[CTO lesson 3 - Blockchain, Token, NFT & Web3]] - Same topics: Design, Personal, SmartHome, Books