There are many options to open external access for HASS
There are many options to open external access for HASS. Cloudflared tunnel provides a more secure solution compared to traditional port forwarding, does not require a VPN, and works well whether you’ve installed it via Ambian or Ubuntu on a TV Box or Raspberry Pi. Below is a detailed and completely free guide.
Requirements
• A registered domain name
• A Cloudflare account (free)
• A Home Assistant system installed and running
Steps
- Register and configure the domain name with Cloudflare • Register a domain name from a provider (such as GoDaddy, Namecheap) or buy directly from Cloudflare • Create a Cloudflare account if you don’t have one • Add the domain to Cloudflare and follow the instructions to point the nameservers to Cloudflare
- Configure Home Assistant Add the following configuration to Home Assistant’s
configuration.yamlfile:
http:
  use_x_forwarded_for: true
  trusted_proxies:
    - 172.30.33.0/24
If you’re not sure how to edit this part, refer to the article on setting up a development environment for HASS. We need to perform the file editing operation through the Visual Code add-on or similar file editing tools.

Then restart Home Assistant to apply the configuration.
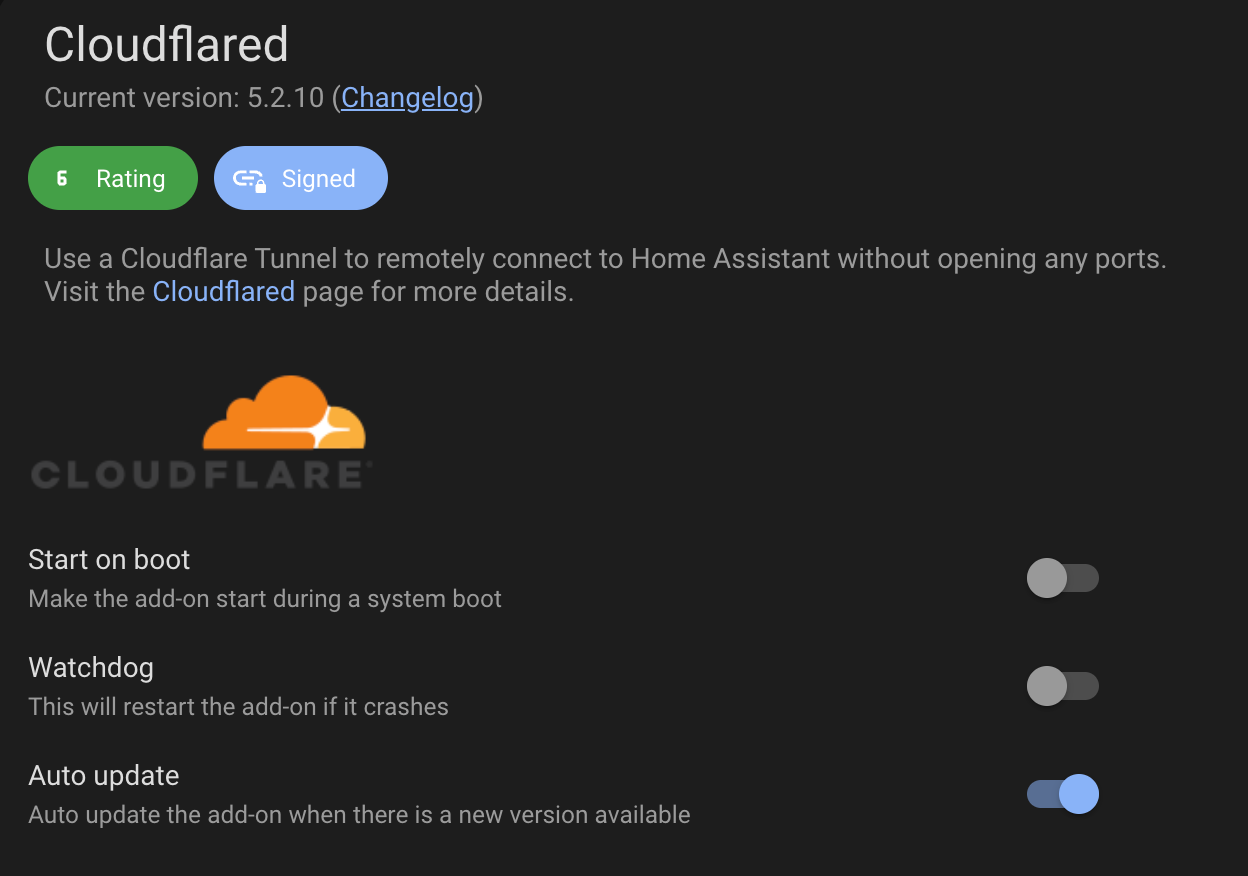
- Install the Cloudflared Add-on • Go to Home Assistant, then Settings > Add-Ons • Add the repository of the Cloudflared add-on:
https://github.com/brenner-tobias/addon-cloudflared• Install the Cloudflared add-on - Configure the Cloudflared Add-on
There are two methods to set up a tunnel: Local tunnel (recommended) and Remote tunnel (advanced).
Local tunnel method (simple):
- Go to the Cloudflared add-on configuration
- Enter your domain name in the
external_hostnamefield (for example:ha.example.com) - Save the configuration and start the add-on
- Check the add-on logs; you will see a URL
- Open that URL in your browser to authenticate with Cloudflare
Remote tunnel method (advanced):
- Create a Cloudflare Tunnel in Cloudflare’s Zero Trust dashboard
- Get the tunnel token and enter it into the add-on configuration
- Start the add-on and check the logs