Show Plex Current Playing and Upcoming Movies in Home Assistant
Use Tautulli, MQTT, Sonarr Upcoming Media, and a few custom Lovelace cards to turn Home Assistant into a Plex current-playing and upcoming-TV dashboard.
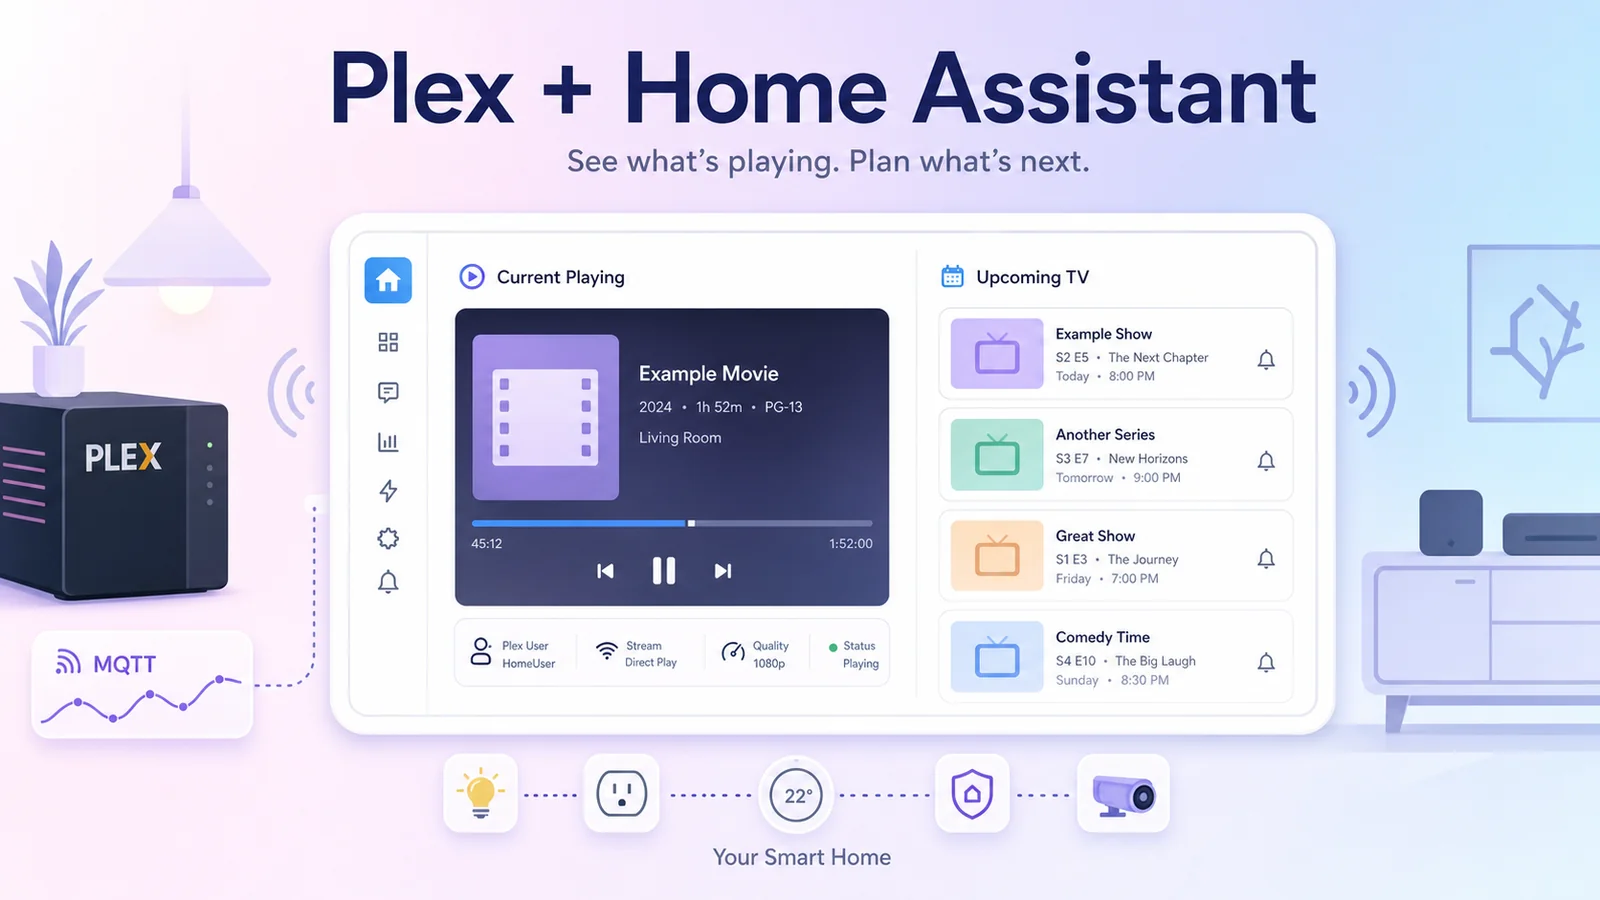
In my home media setup, Plex is where movies and shows are played, Sonarr tracks TV series, and Home Assistant usually handles smart-home controls. But when these pieces are pulled into one dashboard, Home Assistant becomes a genuinely useful media overview: who is watching what on Plex, playback progress, which device is streaming, and which episodes are coming soon.
This is the result on my dashboard:

Overall idea
The data flow has two independent parts:
- Current Playing: Tautulli watches Plex, then sends poster, title, playback status, progress, and stream quality to Home Assistant through MQTT.
- Upcoming TV: Sonarr Upcoming Media creates a sensor with upcoming episode data, then Lovelace renders it as wide poster cards with
upcoming-media-card.
Simple diagram:
Plex Media Server
    |
    v
Tautulli
    |
    v
MQTT topics
    |
    v
Home Assistant MQTT sensors
    |
    v
Current Playing card

Sonarr calendar
    |
    v
Sonarr Upcoming Media sensor
    |
    v
Upcoming Media Card
The nice part is that Home Assistant does not need to poll the Plex API constantly. Tautulli handles playback tracking, while Home Assistant only reads normalized sensor states.
Required components
You need these pieces:
- Plex Media Server already running.
- Tautulli connected to Plex.
- An MQTT broker in Home Assistant, such as Mosquitto.
- HACS for installing custom cards.
custom:button-cardfor the Current Playing card.card-modfor styling the small poster inside the card.upcoming-media-cardfor upcoming episode cards.- The custom integration
Sonarr Upcoming Mediaif you want the schedule from Sonarr.
If you already have a Plex, Radarr, Sonarr, Prowlarr, and qBittorrent media stack, this is only the dashboard layer on top. For the base flow, see: Automatically download favorite movies to Plex with Watchlist, Radarr, and qBittorrent.
Part 1: Create Plex sensors from MQTT
In my current setup, Tautulli sends several small MQTT topics. Each topic carries one part of the playback data, for example:
homeassistant/tautulli/image: poster and movie title.homeassistant/tautulli/status: status text such as(AFTMM) has stopped Jury Duty - Deliberations.homeassistant/tautulli/player: app or playback device.homeassistant/tautulli/episode: season and episode details.homeassistant/tautulli/activity: progress percentage and stream quality.
In configuration.yaml, define MQTT sensors like this:
mqtt:
  sensor:
    - name: "Plex Media Playing"
      unique_id: "plex_media"
      state_topic: "homeassistant/tautulli/image"
      value_template: "{{ value_json.body }}"

    - name: "Plex Media Name"
      unique_id: "plex_media_name"
      state_topic: "homeassistant/tautulli/image"
      value_template: "{{ value_json.subject }}"

    - name: "Plex Activity"
      unique_id: "plex_activity"
      state_topic: "homeassistant/tautulli/status"
      value_template: "{{ value_json.subject }}"

    - name: "Plex Status"
      unique_id: "plex_status"
      state_topic: "homeassistant/tautulli/status"
      value_template: "{{ value_json.body }}"

    - name: "Plex Player"
      unique_id: "plex_player"
      state_topic: "homeassistant/tautulli/player"
      value_template: "{{ value_json.subject }}"

    - name: "Plex Player Device"
      unique_id: "plex_player_device"
      state_topic: "homeassistant/tautulli/player"
      value_template: "{{ value_json.body }}"

    - name: "Plex Playing Episode"
      unique_id: "plex_episode"
      state_topic: "homeassistant/tautulli/episode"
      value_template: "{{ value_json.body }}"

    - name: "Plex Playing Episode Name"
      unique_id: "plex_episode_name"
      state_topic: "homeassistant/tautulli/episode"
      value_template: "{{ value_json.subject }}"

    - name: "Plex Playing Progress"
      unique_id: "plex_progress"
      state_topic: "homeassistant/tautulli/activity"
      value_template: "{{ value_json.subject }}"

    - name: "Plex Resolution"
      unique_id: "plex_resolution"
      state_topic: "homeassistant/tautulli/activity"
      value_template: "{{ value_json.body }}"
On the Tautulli side, configure an MQTT Notification Agent to publish simple JSON:
{
  "subject": "Jury Duty - Deliberations",
  "body": "https://your-plex-image-proxy.example/pms_image_proxy?img=/library/metadata/13289/thumb/1780883689"
}
Depending on the topic, subject and body mean different things. The image topic uses subject as the title and body as the poster URL. The activity topic uses subject as progress and body as a stream-quality string such as 1080p -> Direct Play -> 1080.
After reloading MQTT or restarting Home Assistant, check Developer Tools. These entities should have data:
sensor.plex_media_playing
sensor.plex_media_name
sensor.plex_status
sensor.plex_playing_progress
sensor.plex_resolution
If sensor.plex_media_playing returns an image URL, the poster part is working.
Part 2: Create the Current Playing card
This card uses custom:button-card because it needs a flexible layout: poster on the left, text on the right, and a small HTML progress bar.
type: heading
heading: Current Playing
heading_style: title
icon: mdi:disc-player
The main card goes right under the heading:
type: custom:button-card
custom_fields:
  picture:
    card:
      type: custom:button-card
      show_entity_picture: true
      entity_picture: |
        [[[
          return states['sensor.plex_media_playing'].state
        ]]]
      card_mod:
        style: |
          ha-card {
            box-shadow: none;
            border: none;
            padding: 0;
            margin: 0;
            width: 100px;
            height: 100px;
            border-radius: 12px;
            overflow: hidden;
          }
          img#icon {
            width: auto !important;
            height: 100% !important;
            object-fit: cover;
            border-radius: 12px;
          }
  intro: |
    [[[
      return states['sensor.plex_status'].state
    ]]]
  title: |
    [[[
      return states['sensor.plex_media_name'].state
    ]]]
  bar: |
    [[[
      let val = states['sensor.plex_playing_progress'].state;
      return `
        <div style="width: 100%; height: 18px; background: #2e2e2e; border-radius: 10px; overflow: hidden;">
          <div style="width: ${val}%; height: 100%; background: #e49f29; display: flex; align-items: center; justify-content: flex-end; padding-right: 8px; color: #fff; font-weight: bold; font-size: 12px;">
            ${val} %
          </div>
        </div>
      `;
    ]]]
  stream: |
    [[[
      return "Streaming at " + states['sensor.plex_resolution'].state
    ]]]
tap_action:
  action: more-info
  entity: sensor.plex_activity
styles:
  card:
    - height: auto
    - padding: 12px
    - border-radius: 16px
  custom_fields:
    picture:
      - grid-area: picture
      - margin-right: 12px
    intro:
      - text-align: left
      - font-size: 14px
      - font-weight: bold
      - color: "#e49f29"
    title:
      - text-align: left
      - font-size: 16px
      - margin-top: 4px
      - margin-bottom: 4px
    bar:
      - margin-top: 6px
      - margin-bottom: 6px
    stream:
      - text-align: left
      - font-size: 12px
      - color: "#cccccc"
  grid:
    - grid-template-areas: |
        "picture intro intro"
        "picture title title"
        "picture bar bar"
        "picture stream stream"
    - grid-template-columns: 100px 1fr
    - grid-template-rows: auto
The key part is custom_fields.picture.card.entity_picture. It reads the poster URL directly from sensor.plex_media_playing, so the poster changes with the current or most recent playback item.
The progress bar does not need a separate card. As long as sensor.plex_playing_progress is a percentage number, button-card can render a small HTML bar.
Part 3: Get upcoming episodes from Sonarr
To show items such as Widow's Bay, Cape Fear, and Star City, I use this sensor:
sensor.tv_sonarr_upcoming_media
This sensor comes from the custom integration Sonarr Upcoming Media. After installing it through HACS, configure the Sonarr URL and API key. The integration reads Sonarr's calendar and creates data that works with upcoming-media-card.
When the sensor works, its state is usually Online, while the data attribute contains upcoming episodes. Each item has fields like:
{
  "title": "FROM",
  "episode": "Heavy Is the Head",
  "number": "S04E08",
  "airdate": "2026-06-15T01:00:00Z",
  "rating": "★ 7.8",
  "genres": "Drama, Horror, Mystery"
}
Part 4: Display Upcoming Media Card
The Lovelace config for the upcoming schedule is compact:
type: custom:upcoming-media-card
entity: sensor.tv_sonarr_upcoming_media
title: null
image_style: fanart
sort_by: number
enable_tooltips: true
hide_empty: true
title_text: "$title"
line1_text: "$episode"
line2_text: "$number"
line3_text: "$day, $date $time"
line4_text: "$empty"
max: 5
A few useful options:
image_style: fanart: uses wide images, which fit a dashboard column well.hide_empty: true: hides the card if there are no upcoming episodes.max: 5: shows only the nearest five episodes so the dashboard does not get too long.line1_text,line2_text,line3_text: control the text shown over the poster.
If you also want upcoming movies from Radarr, the flow is similar: install Radarr Upcoming Media, create a separate sensor, then add another custom:upcoming-media-card pointing to the Radarr sensor.
Suggested dashboard layout
In my dashboard, the media section sits in its own column:
Current Playingheading.- Main Plex current-playing card.
- Small media-player controls for speakers or TVs.
- A recent Plex/Jellyfin log card.
- A right column with bandwidth and
upcoming-media-card.
On a tablet or wide wall panel, putting Current Playing and Upcoming side by side is easier to scan. On a phone, put Current Playing first and Upcoming Media below it because the upcoming card takes more vertical space.
Common issues
Poster does not show
Check the state of:
sensor.plex_media_playing
It must be an image URL that the Home Assistant dashboard browser can access. If the URL is an internal Plex address with a token or a private HTTPS domain, check certificate and access from the device opening the dashboard.
Progress bar does not move
Check sensor.plex_playing_progress. This sensor should be a number from 0 to 100. If Tautulli sends a string with %, clean the payload or template so only the number remains.
Upcoming card has no data
Check:
sensor.tv_sonarr_upcoming_media
If the state is not Online, check the Sonarr URL, API key, and Sonarr calendar. If the state is Online but the card is empty, inspect whether the data attribute has any item.
Card says custom element does not exist
This usually means a HACS resource is missing. Check Home Assistant:
Settings -> Dashboards -> Resources
You need resources for:
button-cardcard-modupcoming-media-card
Conclusion
This setup does not turn Home Assistant into a media server. Plex, Tautulli, and Sonarr still do their own jobs. Home Assistant only collects their states into a readable dashboard.
But on a tablet or wall control panel, the experience feels very different: you can see what is playing, playback progress, the device being used, and which TV episodes are coming this week. For a homelab media server, this is one of the most satisfying dashboard cards to build.