Proxmox Installation Guide
Preparation You need to download the Proxmox ISO file to your computer: Proxmox VE 7.1 ISO Installer (986 MB) 1. Keywords: ai.
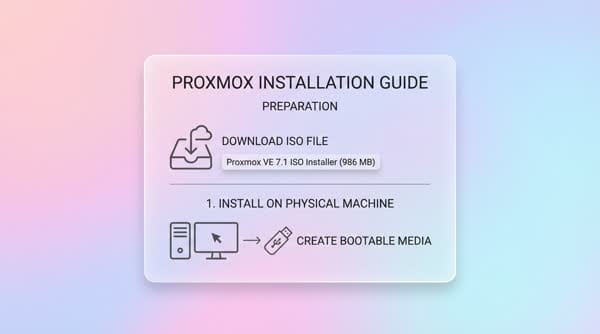
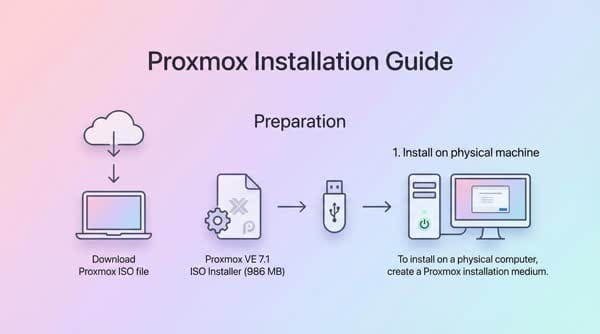
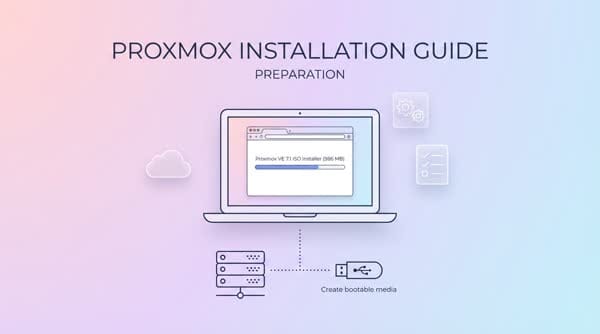
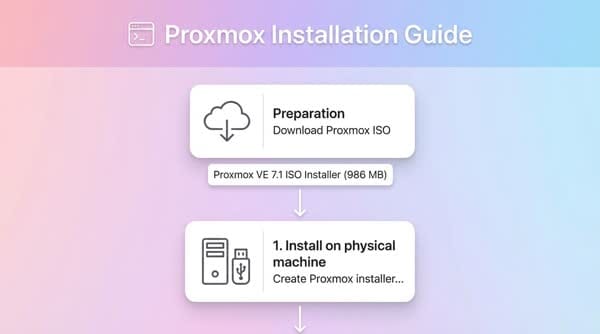
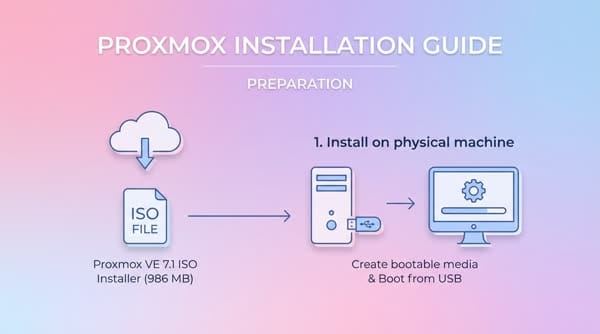
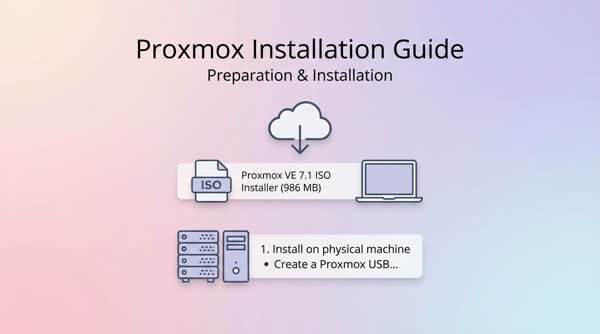
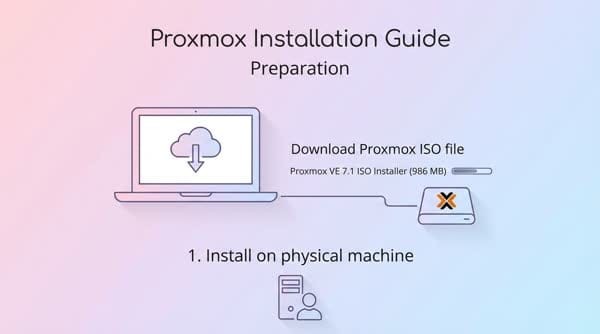
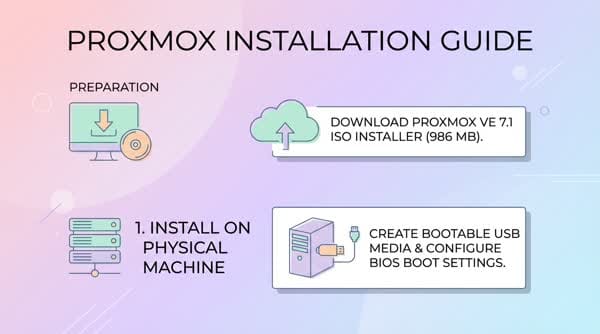
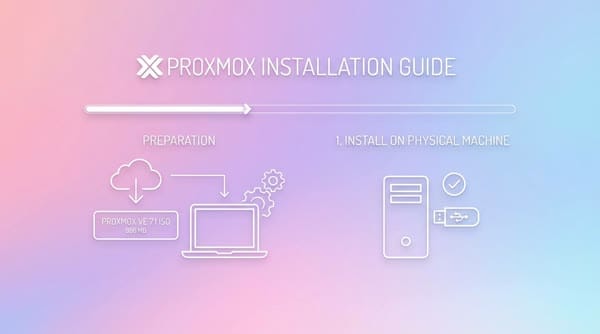
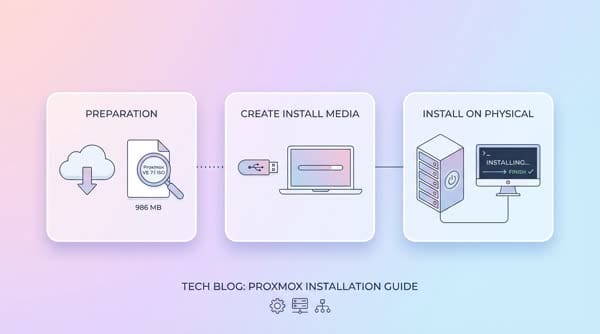
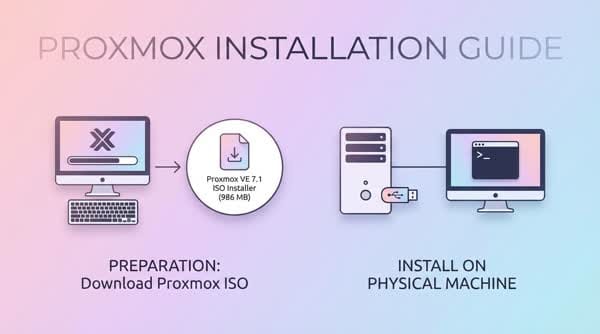
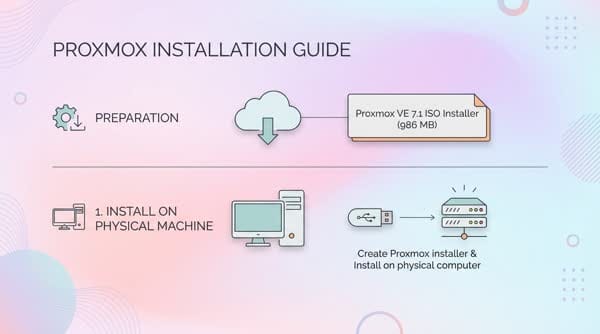
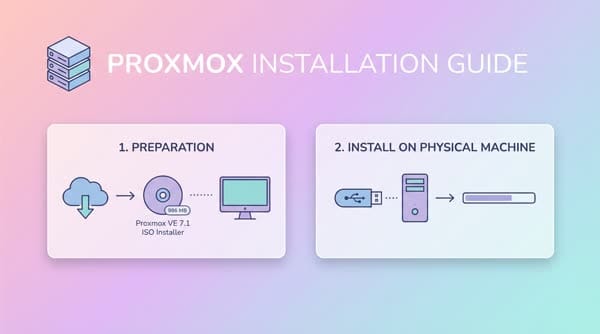
Preparation
You need to download the Proxmox ISO file to your computer: Proxmox VE 7.1 ISO Installer (986 MB)
1. Install on physical machine
To install Proxmox on a physical computer, you need to create a Proxmox installation disk on a USB drive using Rufus (Win) or Etcher (Win / Mac).
If you use Rufus to create the USB, note that you need to select DD mode so that Proxmox can boot after startup.
Once the USB drive is ready, plug it into the computer that will have Proxmox installed. Adjust the BIOS to boot from USB to launch the Proxmox VE installer.
After creating a virtual machine, select the Proxmox ISO file you created above as the boot optical drive for the virtual machine and continue with the steps below.
Install Proxmox VE
The Proxmox VE installation process in general is straightforward and intuitive. If you are familiar with installing Ubuntu or Debian, it will feel familiar.
After booting the computer from USB, the Proxmox installer will appear. Select Install Proxmox VE.
Select I agree.
If the computer has multiple hard drives, select the drive where you want to install Proxmox here, then click Next. If you want advanced configuration, click the Options button to adjust the parameters.
After clicking Options, you can change the Filesystem: ext4, xfs, zfs, … By default Proxmox will use ext4.
You can further adjust parameters such as swapsize, maxroot, minfree, maxvz. See details here. If you are just getting started, leave them blank so Proxmox can handle them automatically.
Click OK to close the Harddisk options dialog and then click Next.

Select Country, Timezone and Keyboard layout, then click Next.
Enter the password for the root account and the email address. Click Next.
Set a static IP address for the Proxmox machine. Then click Next.
Tick Automatically reboot after successful installation so that the computer automatically restarts after the installation is complete. Click Install to start installing Proxmox onto the hard drive.
The installation process will take about 5–10 minutes depending on the machine configuration.
After the installation is complete, the computer will automatically restart and boot into the Proxmox command-line interface.
You can log in using the following information:
- login: root
- password: the password you set during installation
Access Proxmox Web UI
To manage Proxmox, we will use a web browser to access the Web UI at the IP address configured during installation, with port 8006. I will access the address: https://192.168.0.15:8006
Log in with the root account and the password you set earlier. Click Login.
Proxmox will display a notification that you have not subscribed to a paid plan. Click OK to skip.

This is the interface of Proxmox VE 7.1