Developing A Home Server As A Way To Learn Technology
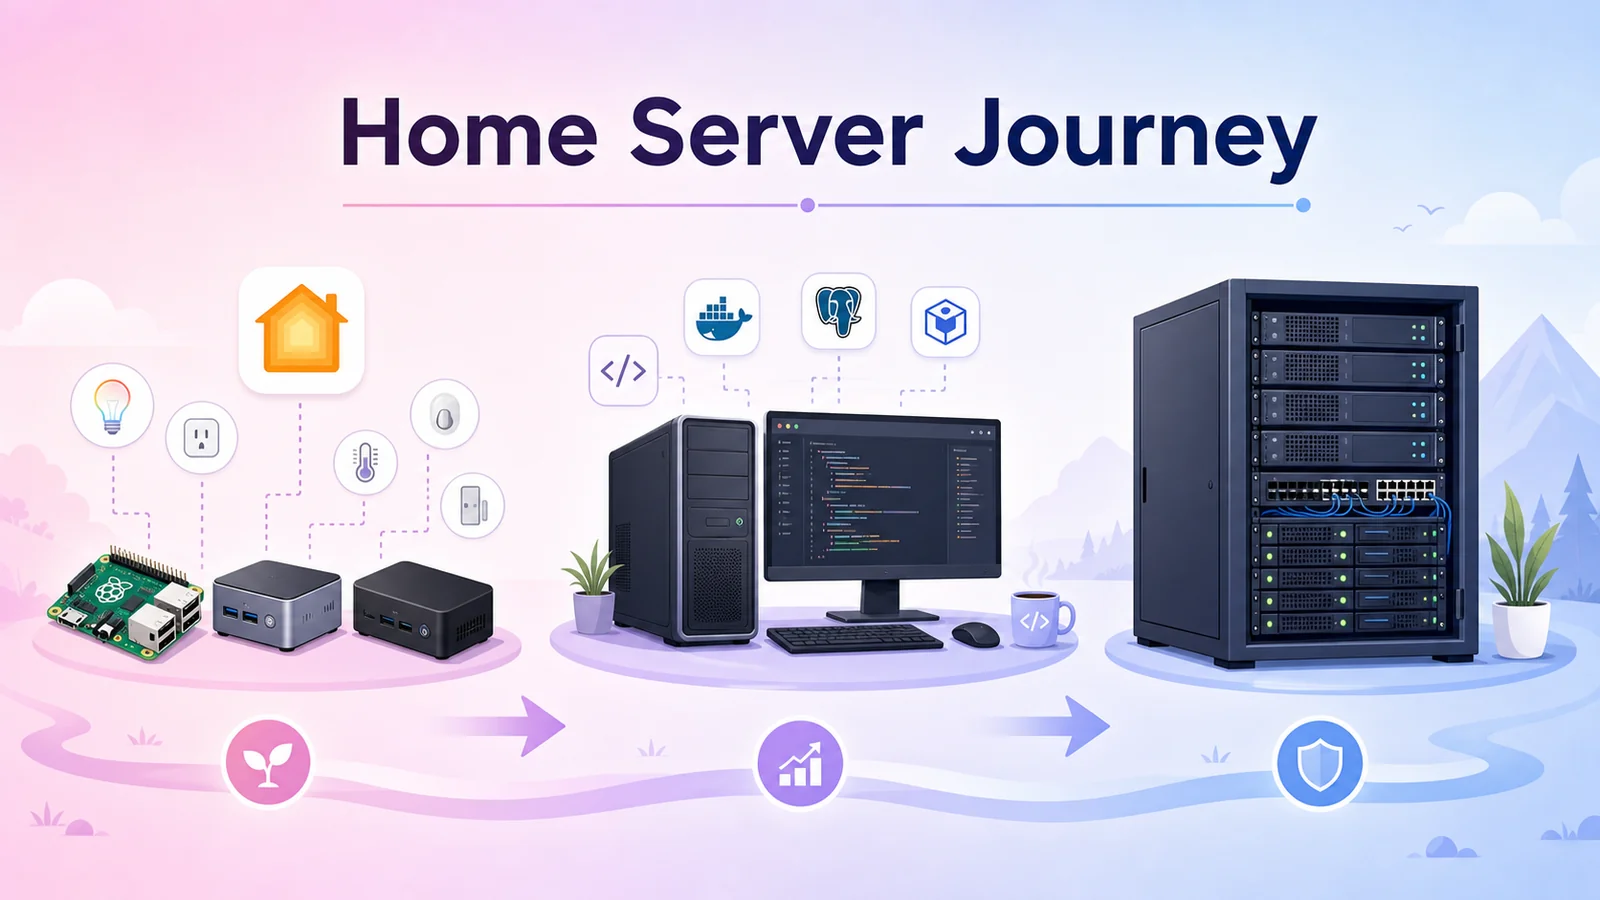
Developing a home server as a practical way to learn technology: starting with Raspberry Pi/NUC devices running Homebridge, then moving to a rack, UPS, a 24/7 PC server, and finally building a dedicated server system.
Some projects start very small. I never imagined they would lead me toward bigger technology milestones and teach me so many practical networking lessons.
At first, I only needed a small device to act as a bridge for my smart home. The house had all kinds of affordable IoT devices: switches, sensors, infrared controllers, and devices from different brands with different apps. Each brand had its own app and its own control style, while Apple HomeKit only worked smoothly with officially supported devices. The practical and inexpensive path was to run a bridge in the middle.
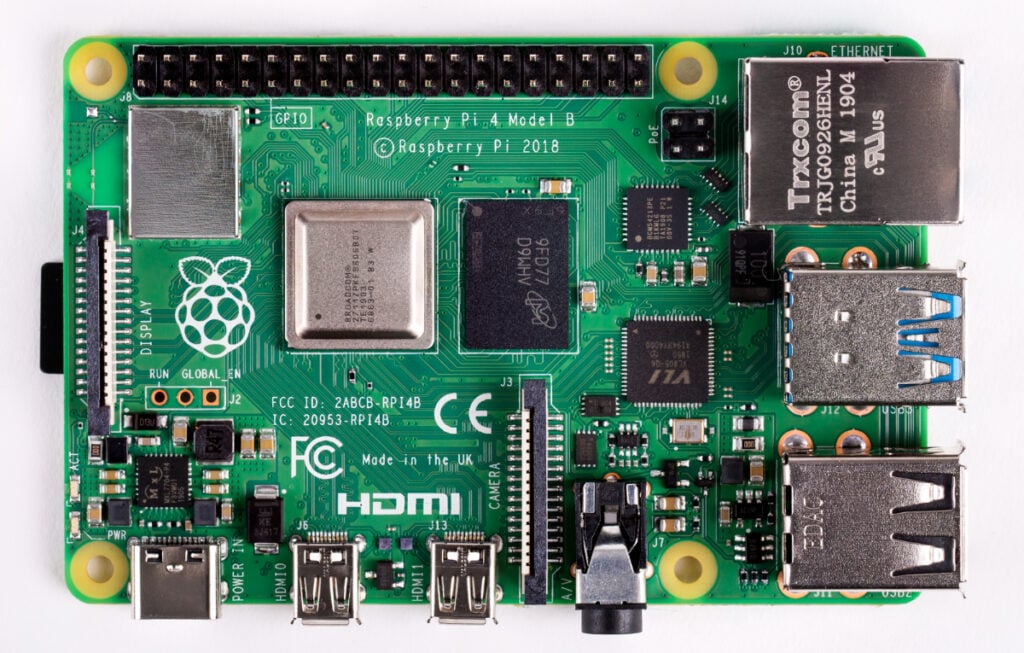
That was how I started with small machines: Raspberry Pi, NUC, and mini-PC devices. Plug them in, connect them to the network, install Homebridge, add the right plugins, and gradually bring non-HomeKit devices into Apple's Home app.
The NUC And Raspberry Pi Stage
Homebridge is the kind of software that fits the "good enough and practical" mindset. It does not need a powerful server. A Raspberry Pi, NUC, or small mini-PC can run it well if its only job is bridging devices.
At that point, my goals were simple:
- Bring cheap IoT devices into HomeKit without replacing the whole ecosystem.
- Merge devices from many brands into one familiar control interface.
- Keep the system light enough to run continuously without wasting power.
- Have a place to try new plugins on weekends: delete what fails, keep what works.
Those first weekends were usually about tiny wins: getting one switch into HomeKit, adding a sensor the next week, controlling an air conditioner through Broadlink, trying a TV plugin, or connecting a few Xiaomi, Tuya, and eWeLink devices. If you want a concrete starting point, I wrote a separate guide on installing Homebridge to bring unsupported devices into Apple Home.
Every success led to a new question. If this device can be bridged, what about cameras? If Homebridge works, what about Home Assistant? If Docker is already running, why not run a few more services?
When Mini-PCs Stop Being Enough
The problem with a homelab is that it rarely stops at the first use case.
A small machine running Homebridge is fine. But once Home Assistant, MQTT, Zigbee2MQTT, Scrypted, databases, reverse proxy, helper containers, and monitoring dashboards enter the picture, things change. CPU may still be acceptable, but RAM and I/O become much clearer limits.
Around the same time, I also started using the home server for coding. It was no longer only about smart home. It became a place to run development environments, test containers, try databases, build small apps, run internal tools, and experiment with open source projects I discovered during the week.
Mini-PCs are still great because they are compact and power efficient. But they no longer gave me enough headroom for experimentation. Each time I wanted to run something new, I had to think about remaining RAM, disk I/O, which container was consuming resources, and which service should be shut down first.
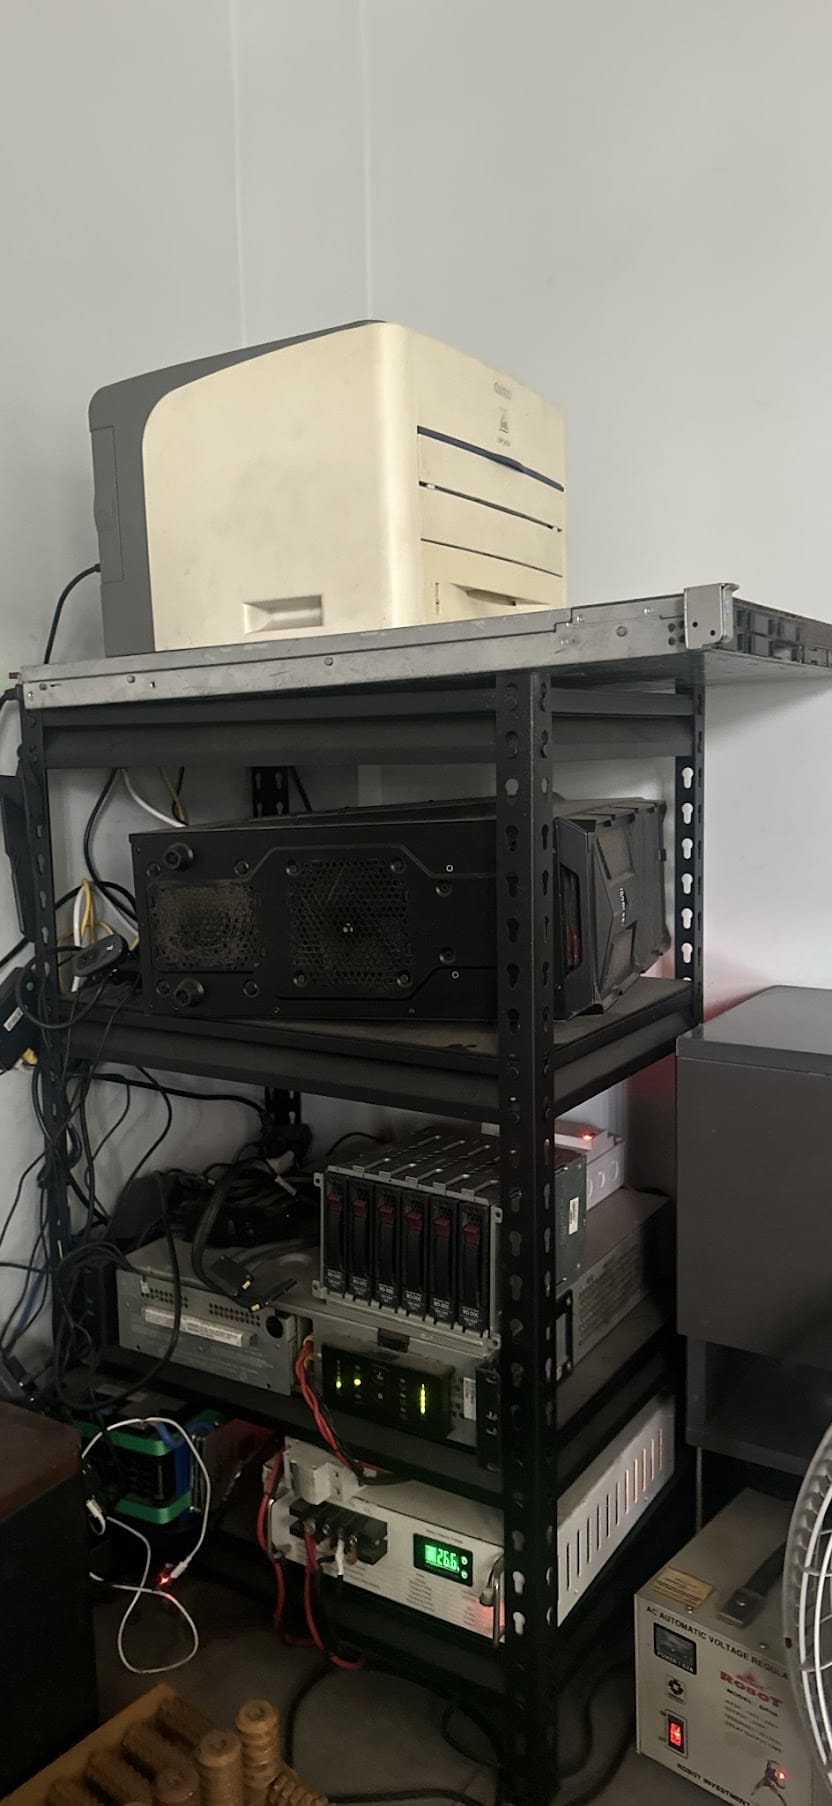
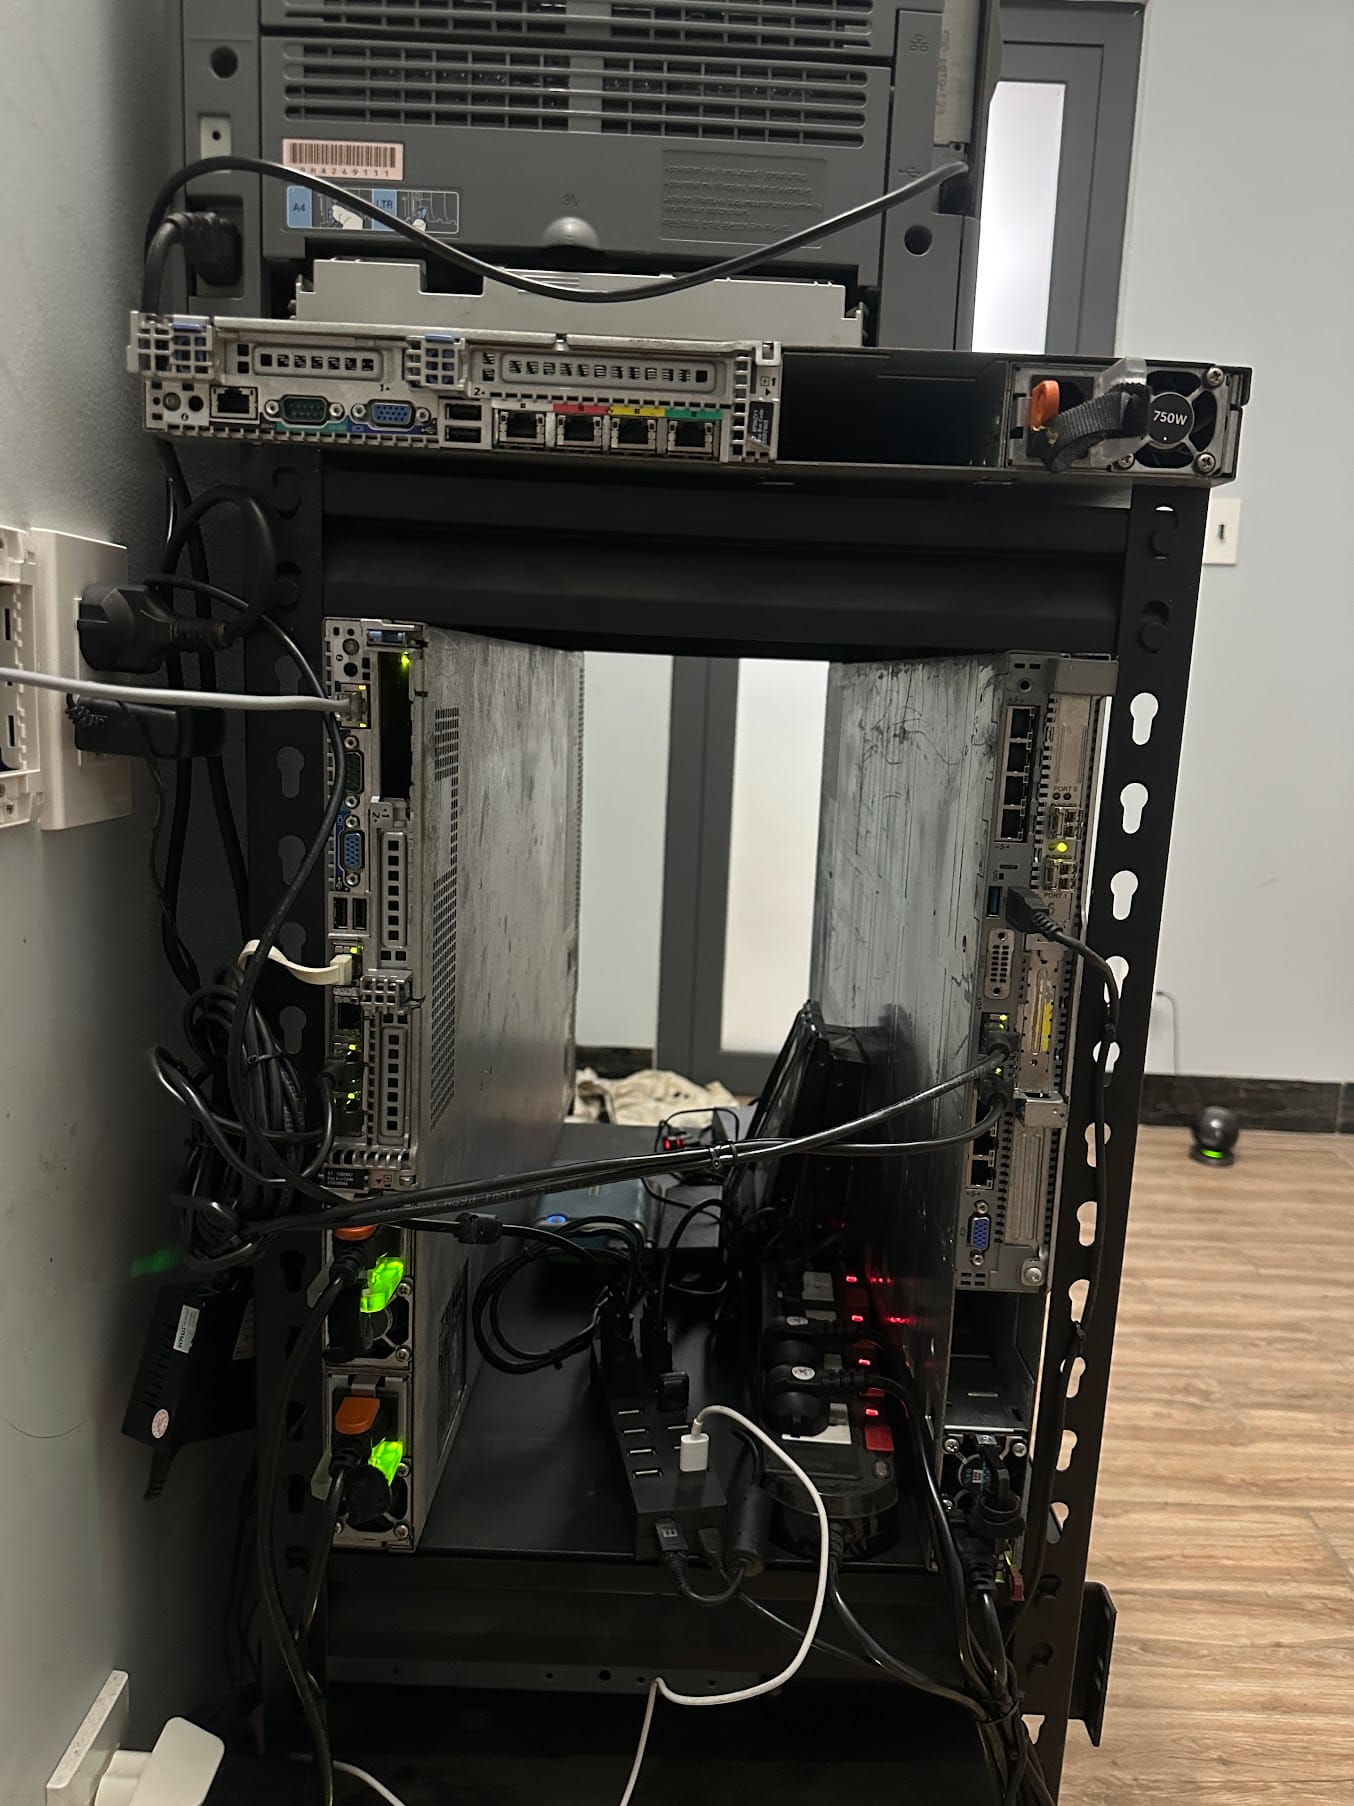
Building A Rack, Adding UPS, And Turning A PC Into The Home Server
The first major transition was reusing an old PC as a 24/7 server. Before that, the PC was only powered on occasionally for heavier work. But as coding and self-hosting needs grew, letting it sit unused felt wasteful. If it already had a stronger CPU, more memory, and easier storage expansion, why not turn it into the main server at home?
From that point, the homelab was no longer just "a Raspberry Pi running Homebridge". It started to have a clearer structure:
- A main machine running 24/7.
- Docker and Portainer to manage services.
- Reverse proxy to expose multiple services through the same public IP or domains.
- Backups for important configuration and data.
- Resource monitoring to know which container was heating the machine or consuming RAM.
- Separation by service role instead of installing everything directly into one OS.
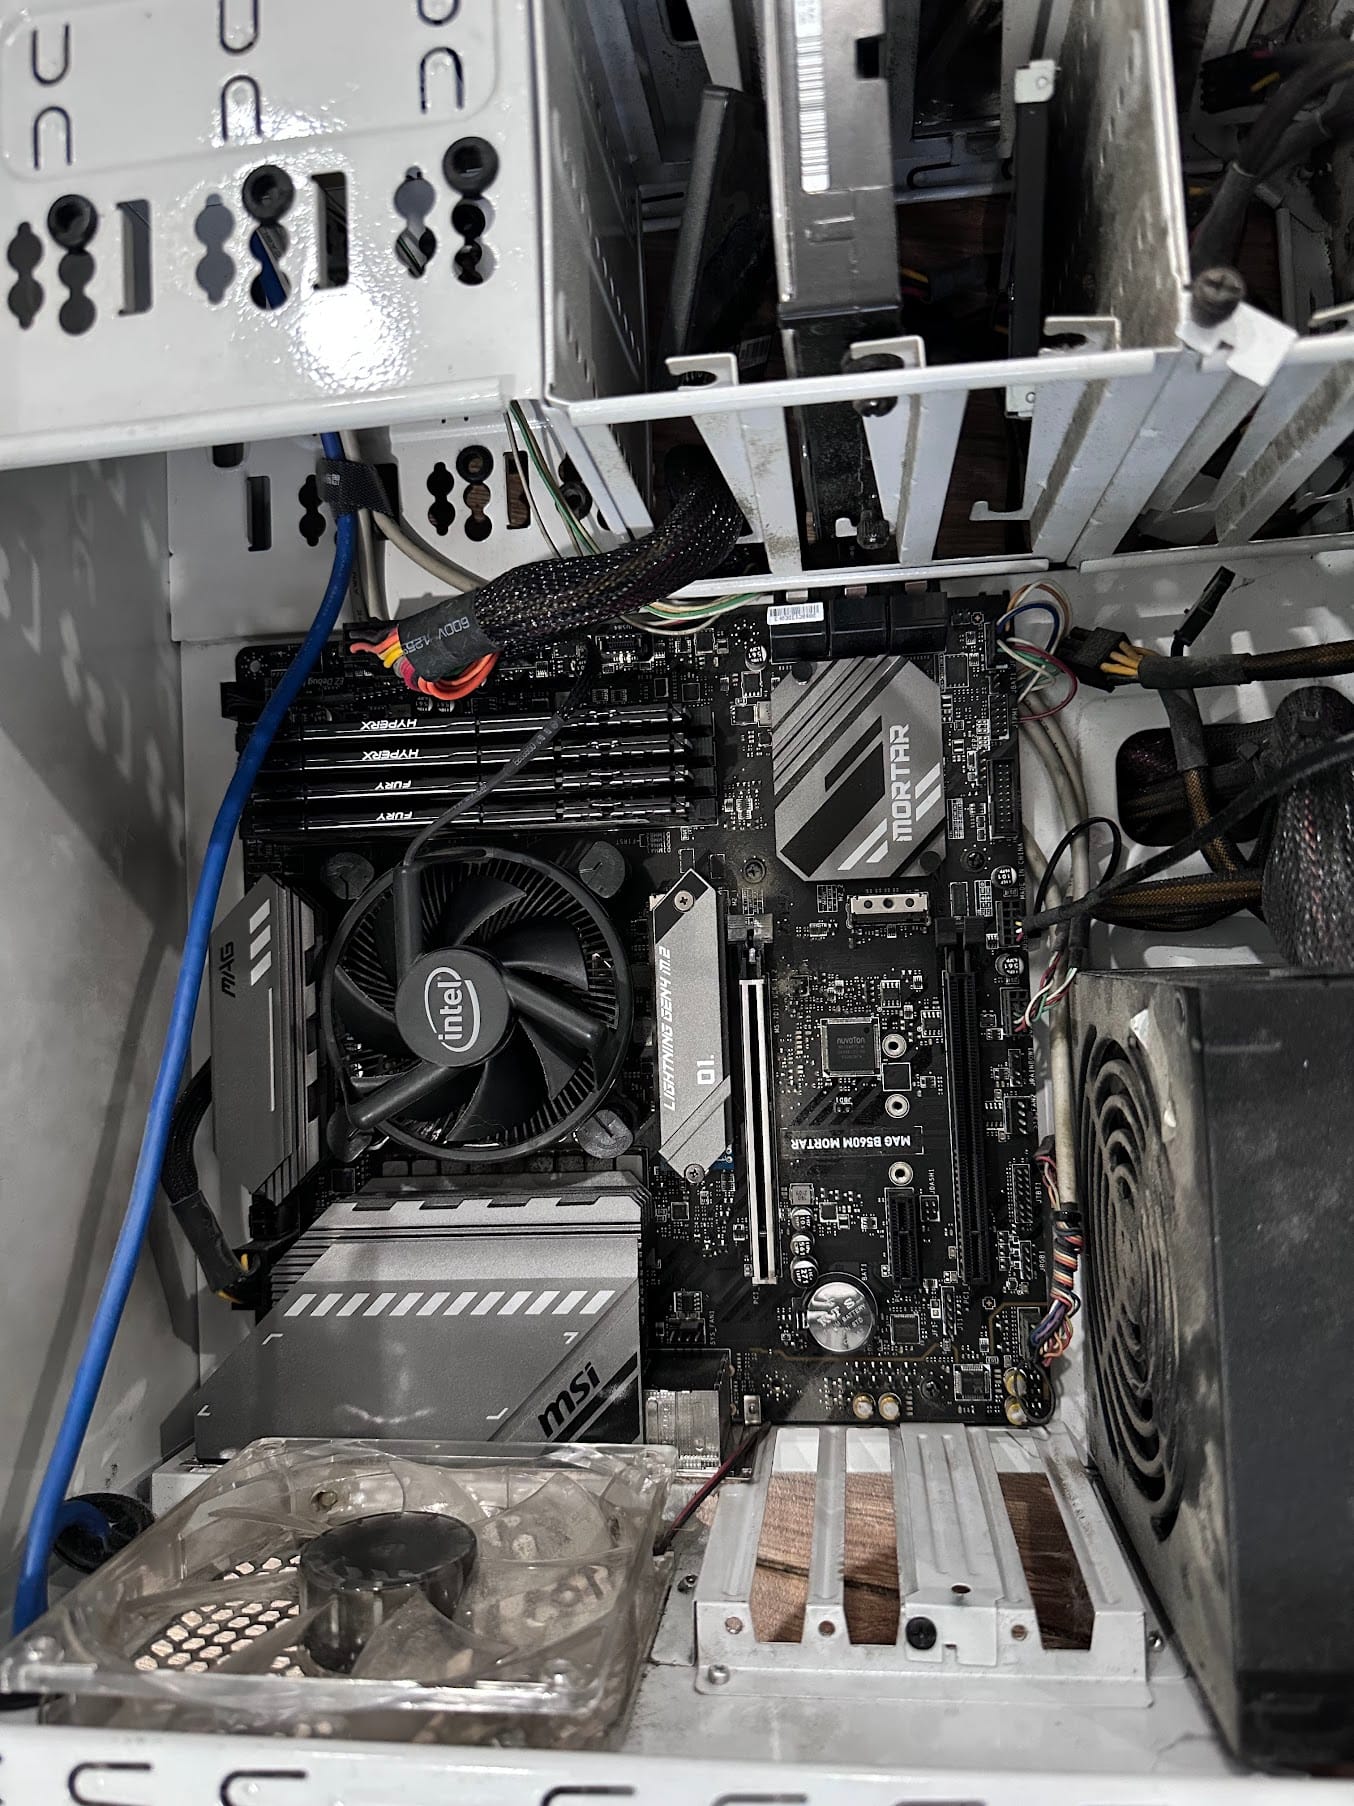
The old PC changed the feeling of the whole setup. I no longer had to be too cautious when spinning up a new service for testing. I could create a test environment, run a separate database, deploy a small app, and delete it later if it was not useful.
This was also the phase where I learned the most about real operations. A service that runs is not the same as a service that runs reliably. For something to stay online 24/7, you have to think about logs, backups, updates, restart policies, networking, storage, temperature, power, and whether the system can recover while you are away.
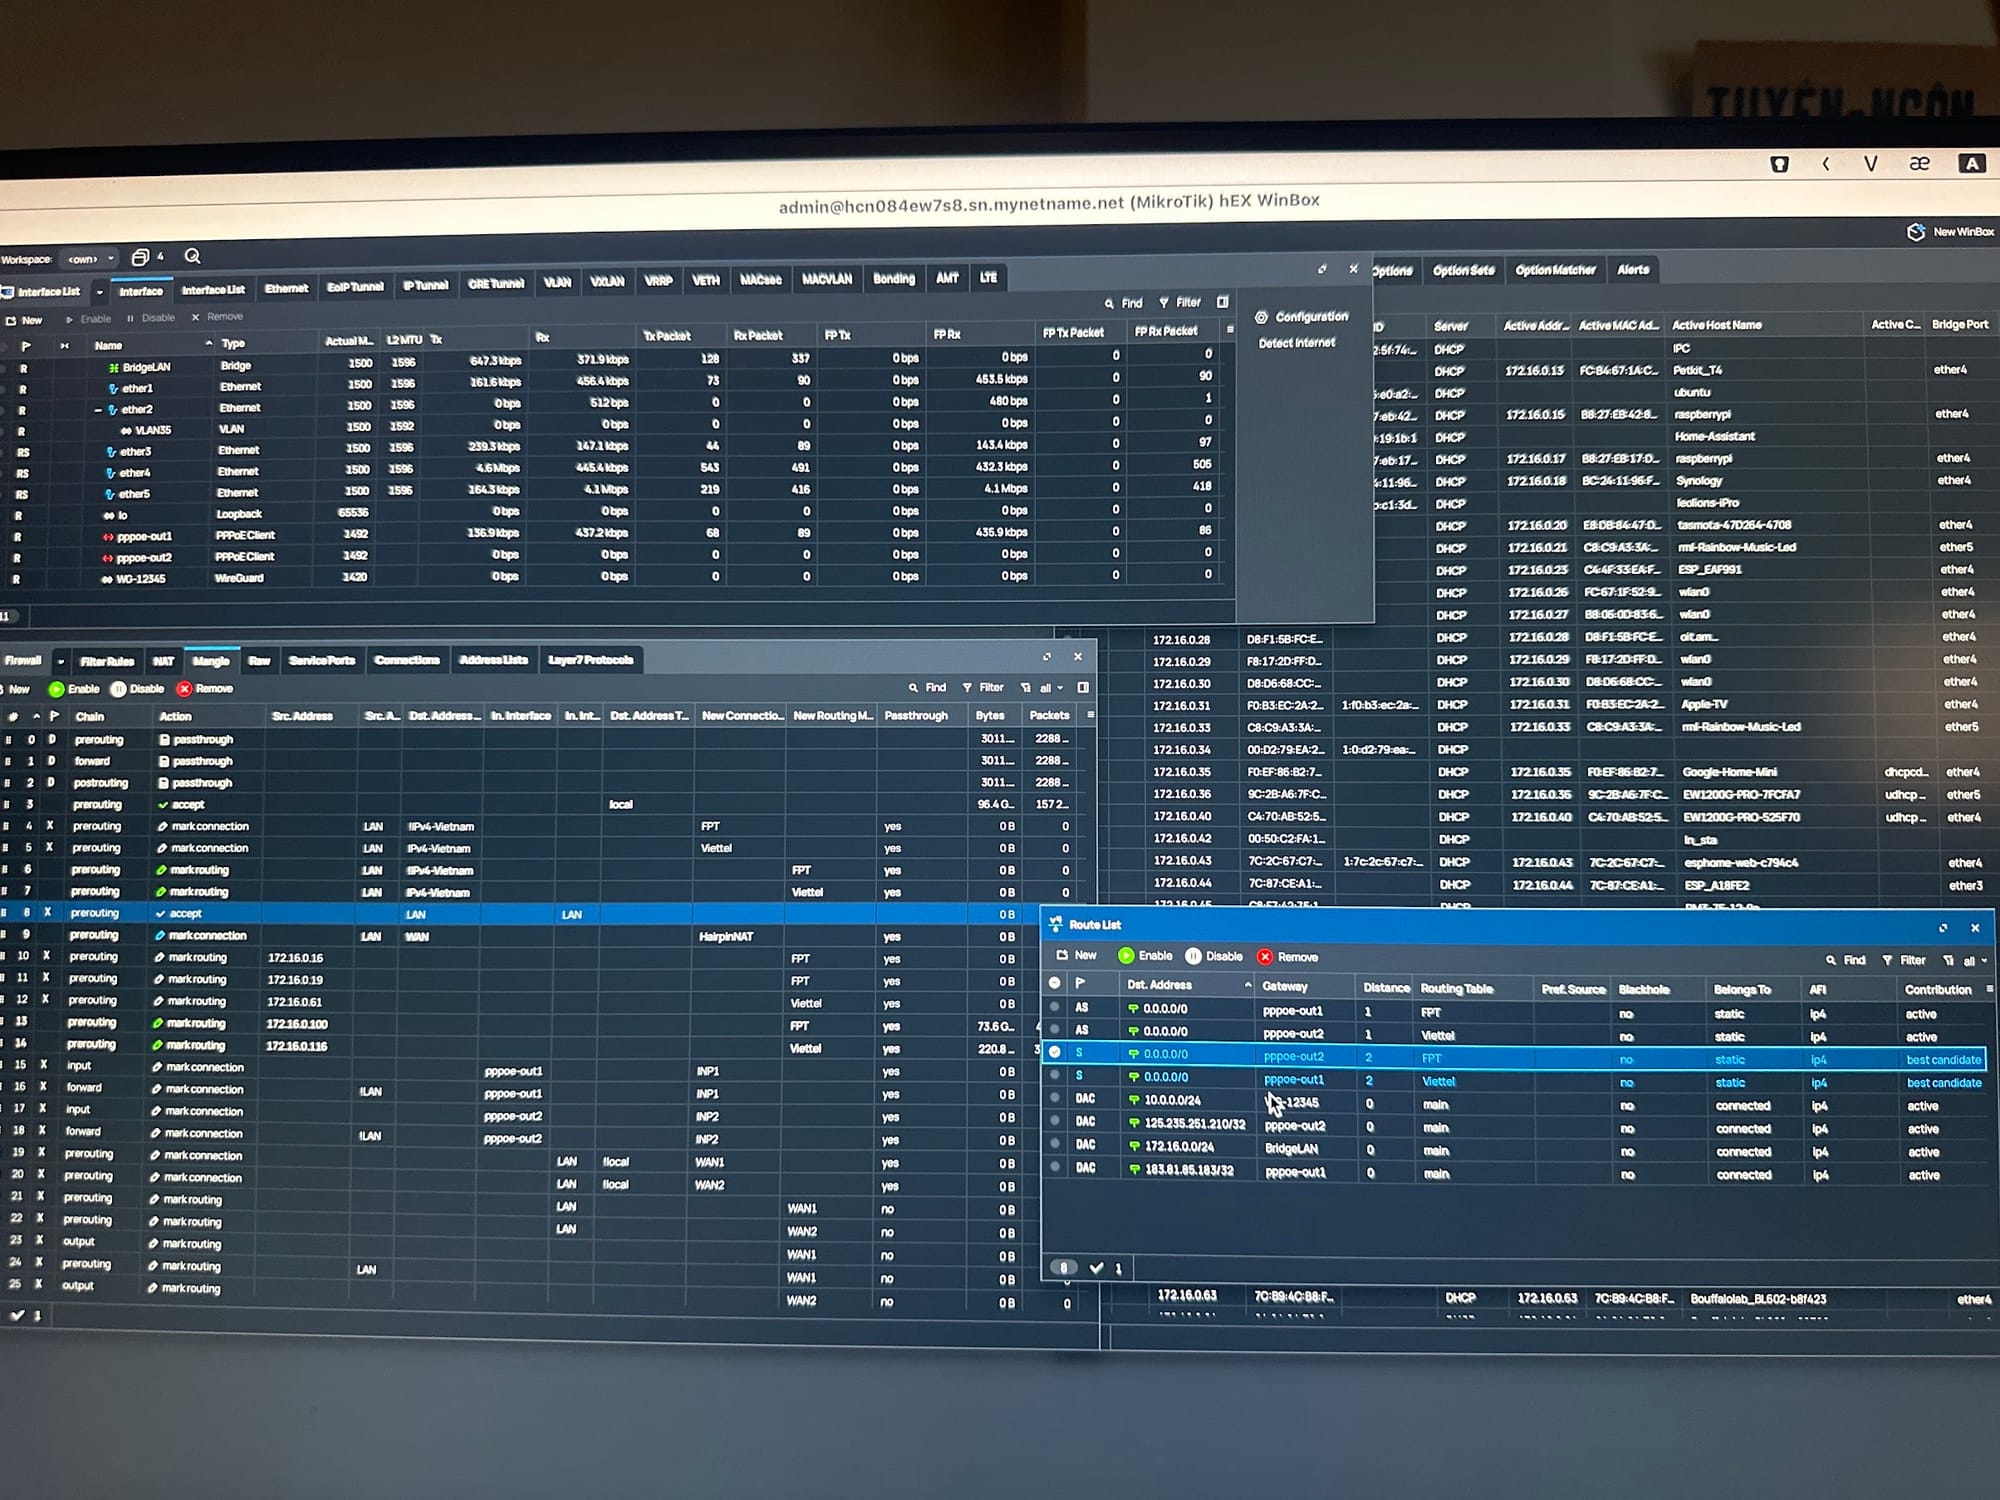
Once I started exposing services outside the house, I had to take networking more seriously. For example, to route multiple services through one public IP, I used a reverse proxy; I covered that in Reverse proxy - access multiple servers through one public IP. If you cannot access your home server through its public domain while already inside the home Wi-Fi, the issue is often Hairpin NAT; I wrote about that in Cannot access a home server through public IP while on the home Wi-Fi.
Why Go Even Bigger?
Once I started using the homelab for coding, requirements grew quickly.
A few smart home containers do not need much. But add databases, small CI jobs, development environments, media services, monitoring, VMs for operating system tests, and new open source tools, and the hardware headroom disappears quickly.
The system does not use all resources all the time. But the value of a personal server is that I can experiment without asking, "Should I rent another VPS for this?" If I want to try a new stack over the weekend, I can clone the repo, launch the containers, assign an internal domain, test for a few days, then decide whether to keep or delete it.
After a while, used enterprise servers started to make sense. They are not new, and they are not as power-efficient as mini-PCs, but they offer more RAM, more drive bays, more network options, and hardware designed to run continuously.
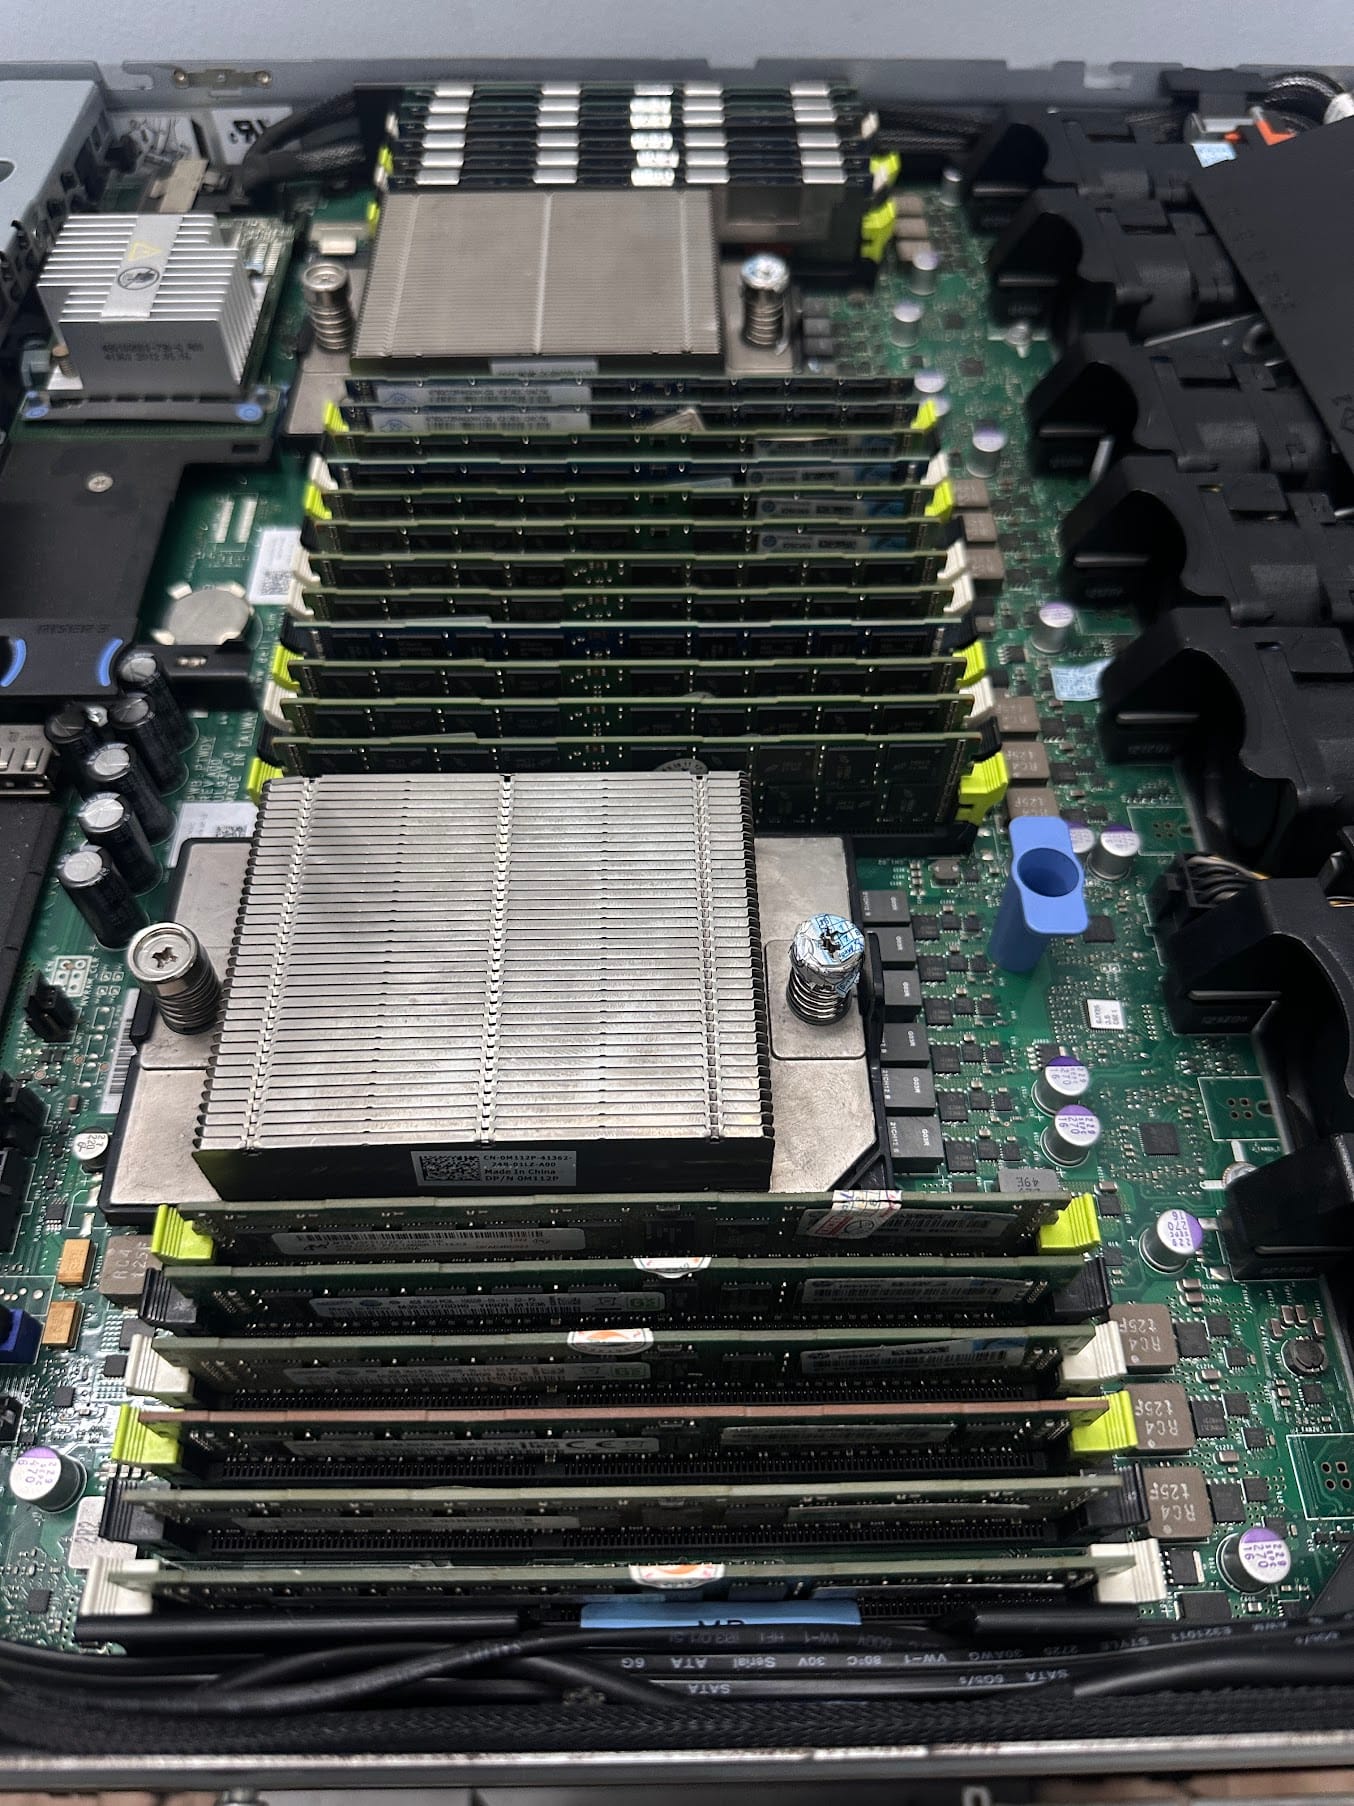
Hunting For Cheap Used DDR3 Servers
I started trying a few used servers with DDR3 memory because the upgrade cost was much lower than newer platforms. More importantly, this class of machine was designed to run continuously: power supplies, fans, RAM slots, drive bays, network cards, and replacement parts all fit the kind of long-running system I wanted to learn from.
Moving to used servers was not because I needed all the resources all the time. It was about creating room to learn. With more memory and better isolation, I could split things more cleanly:
- One VM for Home Assistant and critical smart home components.
- One VM or container group for web services, reverse proxy, and databases.
- A dedicated environment for coding and app testing.
- A sandbox area where I can break things freely and restore from snapshots.
- Resources for media, backup, and supporting services.
At this point, the homelab became a small laboratory at home. It was not only about saving VPS cost. It was about understanding how real systems operate: networking, storage, virtualization, backups, downtime, permissions, security, automation, and monitoring.
The interesting part is that the more powerful the hardware became, the more valuable the Raspberry Pi lessons felt. Without struggling on a small device first, it is harder to understand why systems should stay lean, why backups matter, why everything should not be installed in one place, and why "it runs" does not always mean "it deserves to run 24/7".
The Home Network Had To Grow Too
As the home server started doing more, the network could no longer stay in the "ISP router does everything" stage. Smart home devices, cameras, NAS, servers, laptops, phones, and IoT devices all running throughout the day reveal many small weaknesses.
I gradually separated responsibilities: a dedicated router, separate switches, dedicated access points, wired LAN for important areas, and clearer routing between devices. This connects directly to the article Wi-Fi problems when using smarthome, because even a good home server setup becomes frustrating if the internal network is unstable.
Three Years Of Weekend Experiments
Looking back over roughly 3 years, the most valuable part is not the bigger server stack. The more valuable part is the habit of using weekends to explore.
Some weekends were only for reading documentation. Some were spent fixing one tiny network issue. Some were for launching a new service and deleting it the same day because it did not fit. Some were for measuring power draw, tuning fans, reorganizing cables, replacing drives, rewriting backup scripts, or making one cheap IoT device behave better in HomeKit.
Every weekend became a small window for science, experimentation, and turning things I had read into real systems running at home.
That is why a homelab is not just "a server at home". It is a way to learn technology by actually practicing it. You start from a small need, solve it yourself, and let the next questions pull you further.
From Raspberry Pi, NUC, and mini-PC devices running Homebridge for cheap IoT devices, to an old PC running 24/7 for coding, then to used DDR3 servers in a rack, this journey was never designed perfectly from the beginning. It grew with my needs, my curiosity, and those weekends when I wanted to try one more new thing.